Are you looking to start selling your products online? Well, this guide will help you by showing you how to create an online store using WordPress with WooCommerce. This is how to set up a WooCommerce website in 10 steps.
Web Hosting is required in order to create a website. Think of hosting like land to build a house on. We recommend Bluehost as they offer dedicated managed WordPress hosting. Click here to view their up-to-date pricing: https://www.bluehost.com/track/mapilitmedia/. An SSL certificate is required for ensuring your website is secured for payment transactions. Bluehost offers free SSL certificates when you host your website with them.


A Domain is a URL that a visitor will need in order to visit your website. Think of a domain as an address to your home. Without knowing your address, visitors can’t navigate to your home. We recommend Namecheap for purchasing domains that offer domains for as low as $5.98.
If you purchase Managed WordPress hosting through Bluehost, then WordPress should be installed automatically. If your hosting company does not offer a one-click WordPress install solution then you can download the files directly from WordPress and migrate the files to your server through FTP. The first thing you need to do is set up your domain correctly and enable SSL by adding “https://” before your domain name.

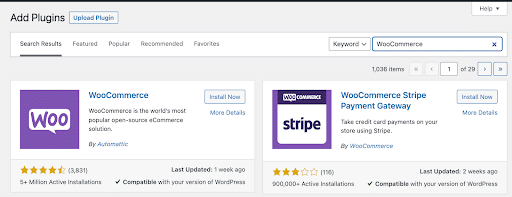
WooCommerce is an all-in-one solution for providing E-commerce functionality with WordPress. This plugin can be installed by adding a new plugin through your WordPress admin.
Categories are created to keep your products organized by distributing your projects in different categories such as T-shirts, Pants, Jackets. Set up a Collection through WooCommerce by selecting “Categories” under the Products menu in the WordPress admin panel.

WooCommerce makes adding products as easy as creating a blog post. You can create a product through the admin panel by navigating to the Product menu and clicking “Add New”. You need to give the product title, images, description, price, shipping class, and category.
If you are selling physical products, then shipping details will be required in order to specify which countries you ship to and at what cost depending on the weight of the order. Shipping can be accessed by “Settings” under the WooCommerce menu and then navigate to the “Shipping” tab. Don’t forget to add your store address under the General tab and set which default currency your store will operate in and which countries you sell to.

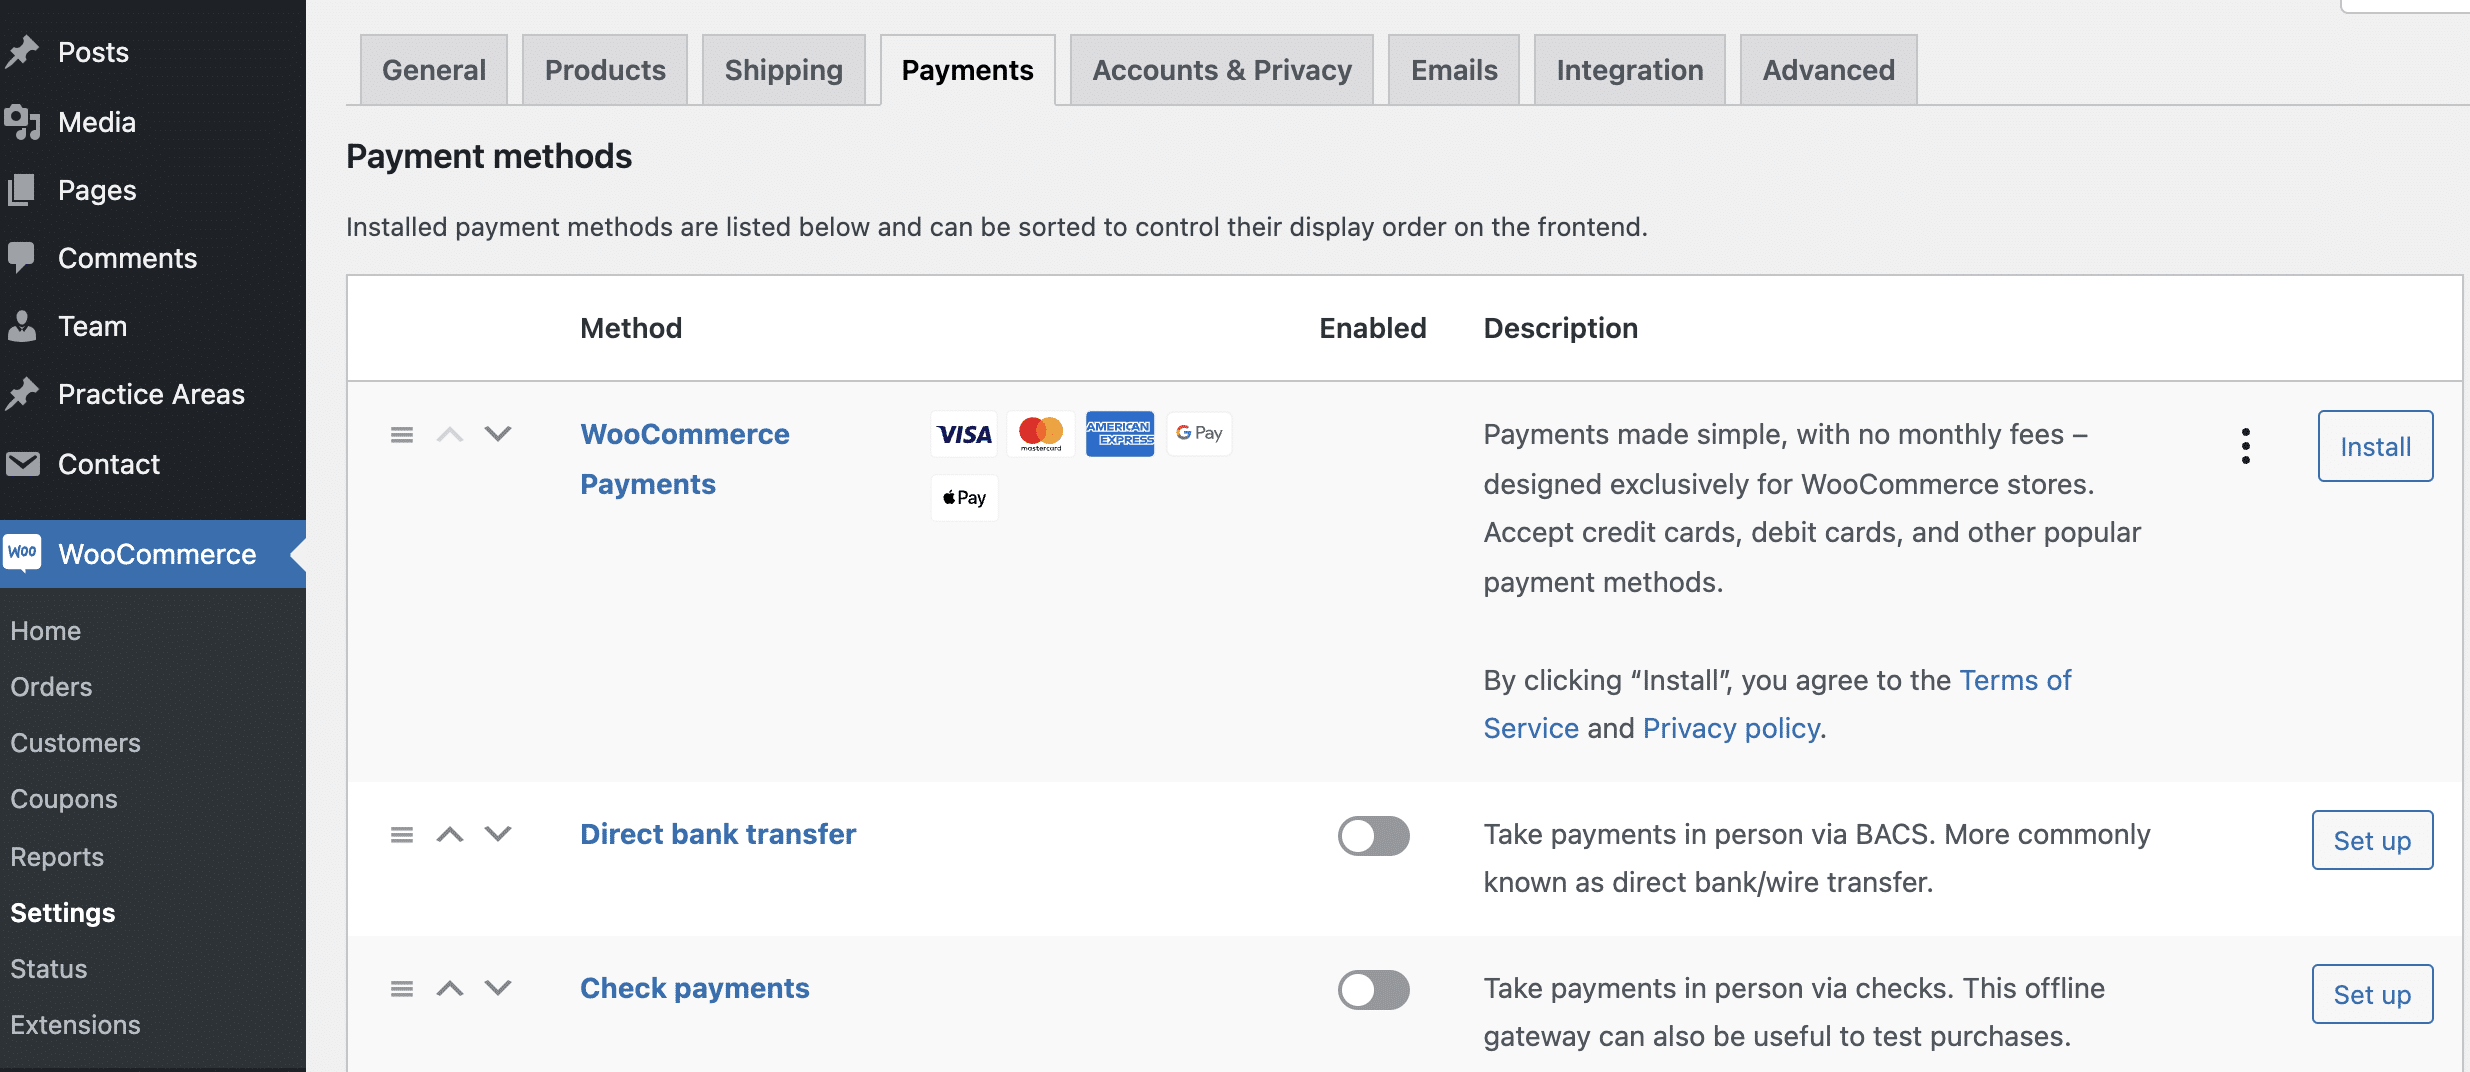
The best part of operating an online store is getting paid! You can set up payment methods through WooCommerce settings under the “Payments' 'tab. Connect your Paypal or Stripe account to start accepting online payments.
For finishing touches make sure you include standard Privacy Policies and Terms of Service as you are collecting customer data. You can find free online policy generators that ask you to fill out a quick questionnaire to automatically generate your policies. Also, write a Shipping Policy so customers know what to expect when their orders should arrive and if tracking numbers are included with each order.
Add your Category Pages to your main menu by going to Appearance->Menu so visitors can access your products. Before launching, do a quick run-through of your website to ensure a visitor can purchase a product. Congratulations on your launch, but this is only the beginning. You need to keep improving your online store through marketing efforts to generate sales and retain customers.
There are themes specifically made for WooCommerce, they provide beautifully designed pages ready to be imported to your website. A free WooCommerce theme we recommend would be OceanWP.
Start an email marketing campaign to generate additional sales by providing updates to subscribers about upcoming sales and new products. Offer a welcome discount to new subscribers to entice more conversions. You can use Mailchimp for WooCommerce to implement this functionality
So those are the 10 steps to get your online store up and running. We at MapilitMedia Inc. wish your online store success, if you need any help with setting up or expanding your online store, you can contact us as WooCommerce Toronto Experts.
